Article Summary
In this comprehensive and master article, we will examine the three top rendering engines for Autodesk Revit: Enscape, Lumion, and V-Ray. Our goal is to provide a complete and comparative analysis that helps architects, designers, and students understand the features, capabilities, strengths, and weaknesses of each rendering engine, enabling them to make the best choice based on their project needs, budget, and skill level. This article details each software and concludes with a systematic comparison.
Table of Contents
- Introduction to Rendering in Revit
- Enscape: Real-Time Interactive Rendering
- Lumion: Powerful for Landscape Visualization & Animation
- V-Ray: The Industry Standard for Photorealistic Rendering
- Comprehensive Comparison of Revit Rendering Engines
- Conclusion and Choosing the Best Option
Introduction to Rendering in Revit
Autodesk Revit is one of the leading Building Information Modeling (BIM) tools, offering extensive design capabilities. However, its built-in rendering features are often insufficient for producing professional-quality outputs. This is where dedicated rendering engines come into play. These engines use advanced computational algorithms to transform the 3D model into photorealistic or artistic images. Choosing the right rendering engine can make a dramatic difference in the quality of the final presentation, workflow speed, and even success in winning client approval.
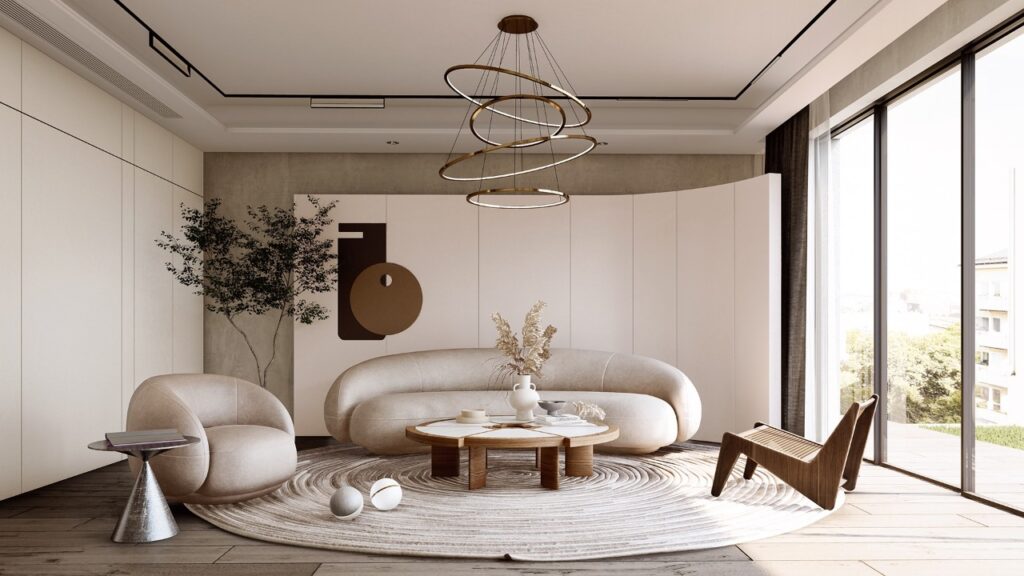
Enscape: Real-Time Interactive Rendering

Enscape is a real-time visualization tool that offers a seamless integration into design workflows, providing users with an immersive experience for exploring their projects. It serves as a virtual reality plugin for popular design software like Revit and ArchiCAD.
With Enscape, designers can effortlessly transform their 3D models into interactive experiences, allowing clients to virtually walk through spaces before they are built. This powerful tool not only enhances the design process but also facilitates communication and decision-making in architecture and construction projects. Enscape’s compatibility with industry-standard software ensures a smooth transition from design to visualization, making it a valuable asset for professionals seeking to create compelling presentations and renderings.
Enscape has revolutionized the design process as a plugin fully integrated with Revit. This rendering engine is based on Real-Time Rendering technology.
Key Features
- Real-Time Rendering: See changes instantly and simultaneously while designing in Revit.
- Full Integration: Installs as a plugin and requires no complex setup.
- Diverse Outputs: Still images, 360° panoramas, virtual tours, and walkthroughs.
- Built-in Content Library: Includes pre-made furniture, materials, and vegetation.
- Virtual Reality (VR) Support: Direct support for VR headsets.
Advantages
- Easy to Learn: Very gentle learning curve, suitable for beginners.
- High Speed: Ideal for quick client presentations during design meetings.
- Smooth Workflow: No need to export the model to another program.
Limitations
- Limited Render Control: Fewer advanced settings compared to competitors.
- Limited and low quality objects:Ensacape asset library has little variety.
- Final Quality: Very good, but not at the professional photorealism level of V-Ray.
- Hardware Dependent: Requires a powerful graphics card for smooth performance.
Lumion: Powerful for Landscape Visualization & Animation

Lumion is a standalone software with a very fluid connection to Revit, focusing on producing high-quality animations and exterior environment renders.
Key Features
- Vast Content Library: Thousands of ready-made models of people, cars, plants, and furniture.
- Advanced Animation Tools: Create professional films with moving cameras.
- Atmospheric & Weather Effects: Full control over lighting, clouds, rain, and snow.
- Support for Sketch & Hand-Drawn Styles: Artistic and non-photorealistic rendering styles.
- Fast, High-Quality Rendering: Uses a proprietary rendering engine for speed.
Advantages
- Visually Stunning Outputs: Ideal for presentations to non-technical clients.
- Efficiency in Large-Scale Projects: Site plans and urban projects.
- Easy Animation: Create professional films without specialized animation knowledge.
Limitations
- Standalone Software: Requires exporting the model from Revit and importing into Lumion.
- High Cost: Especially for the Pro versions.
- Limited Control Over Lighting Details: Compared to V-Ray.
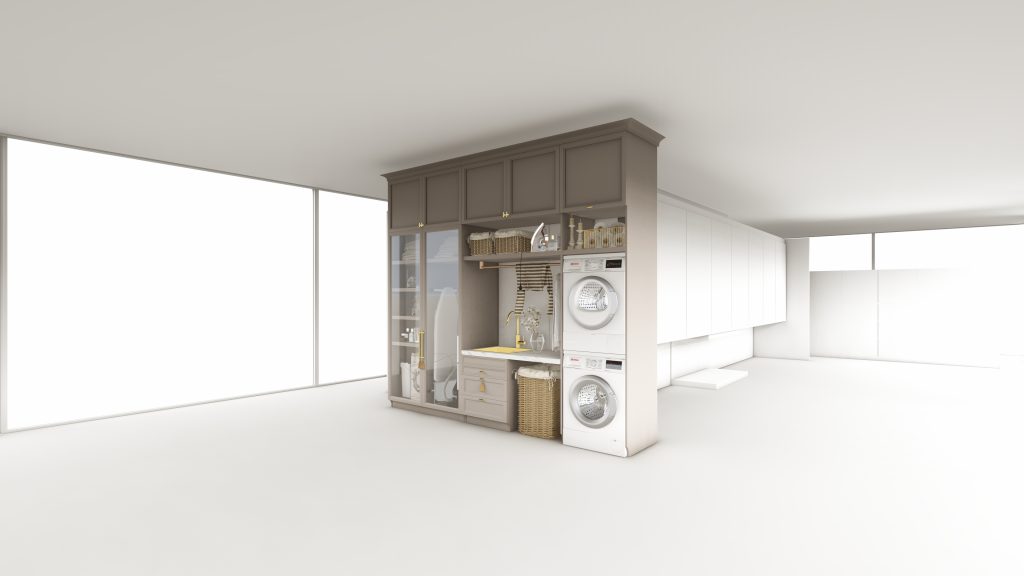
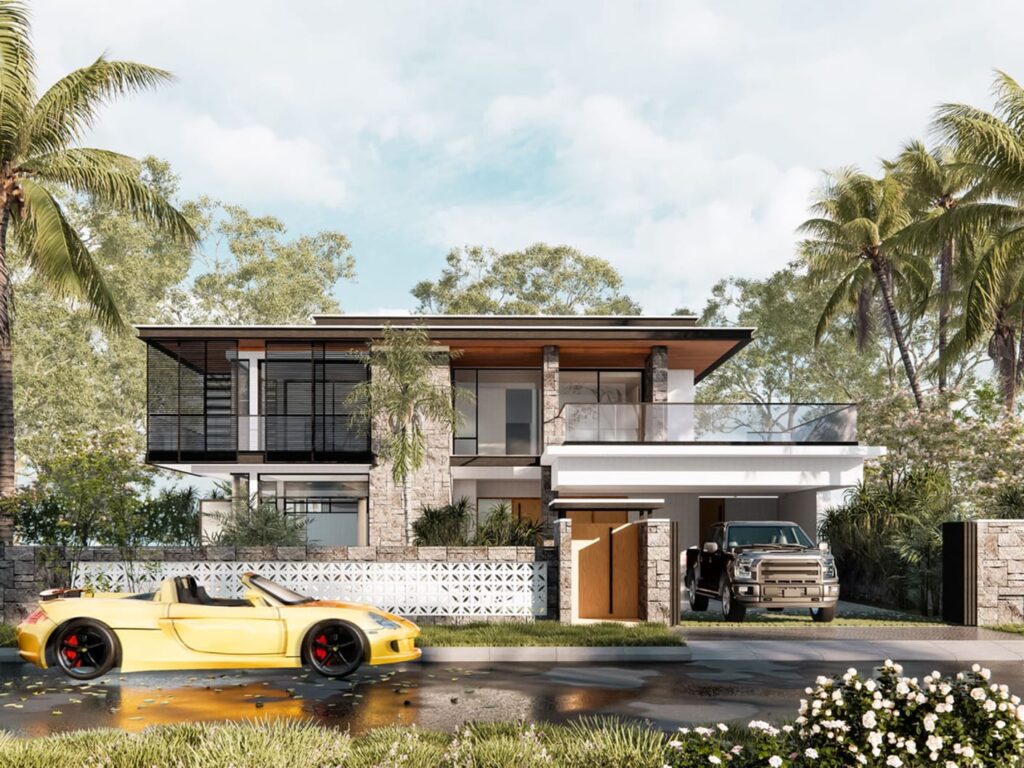
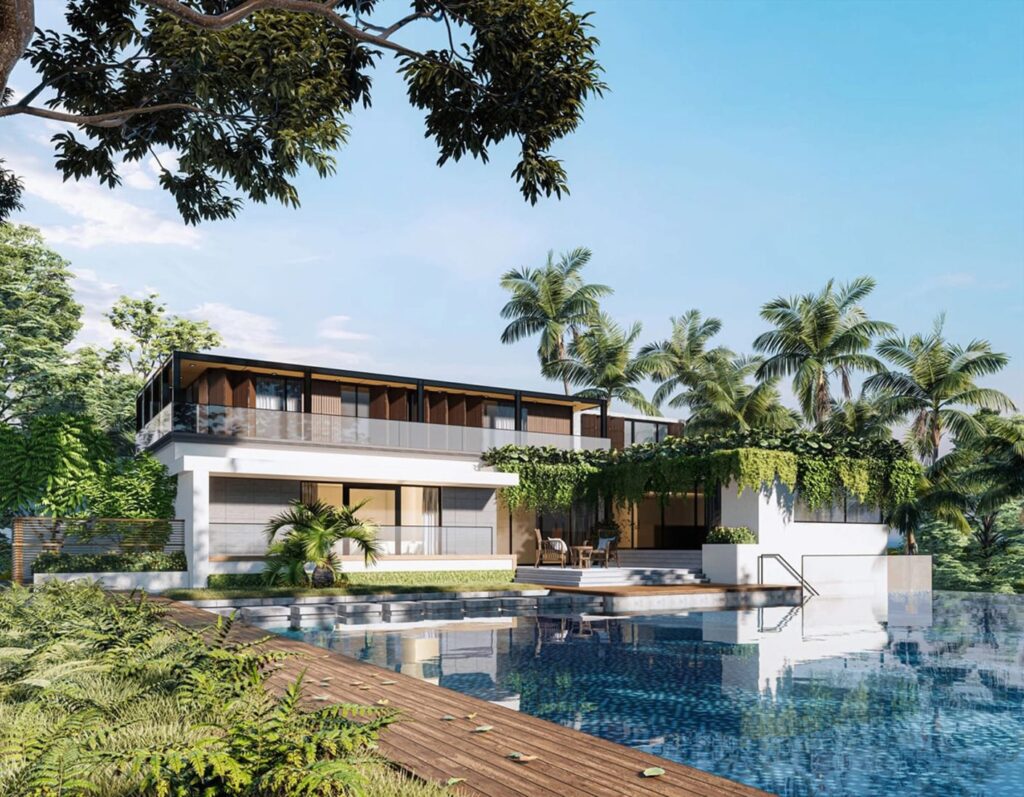
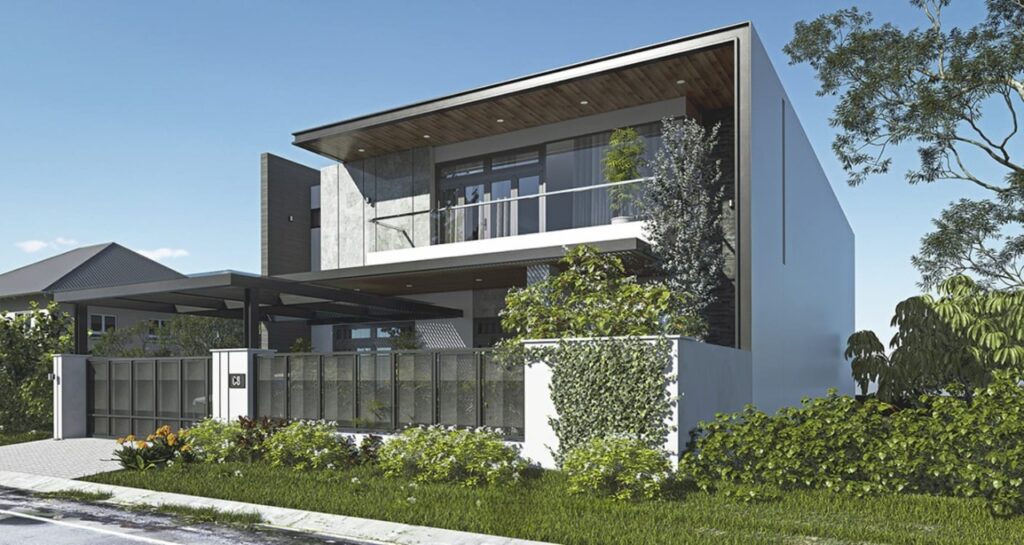
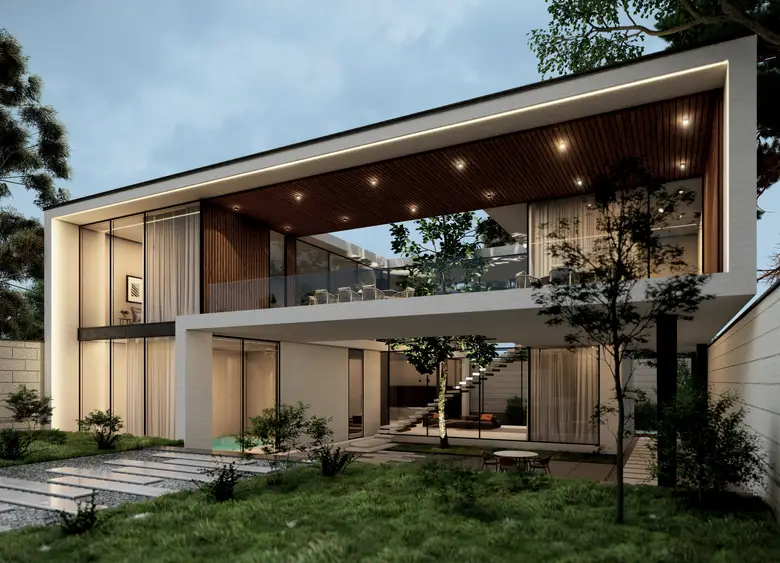
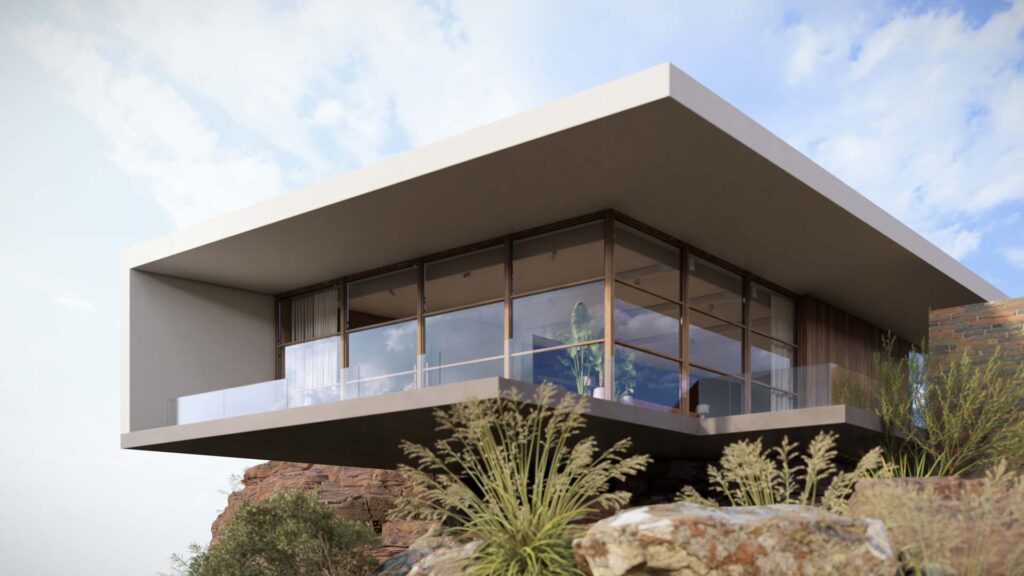
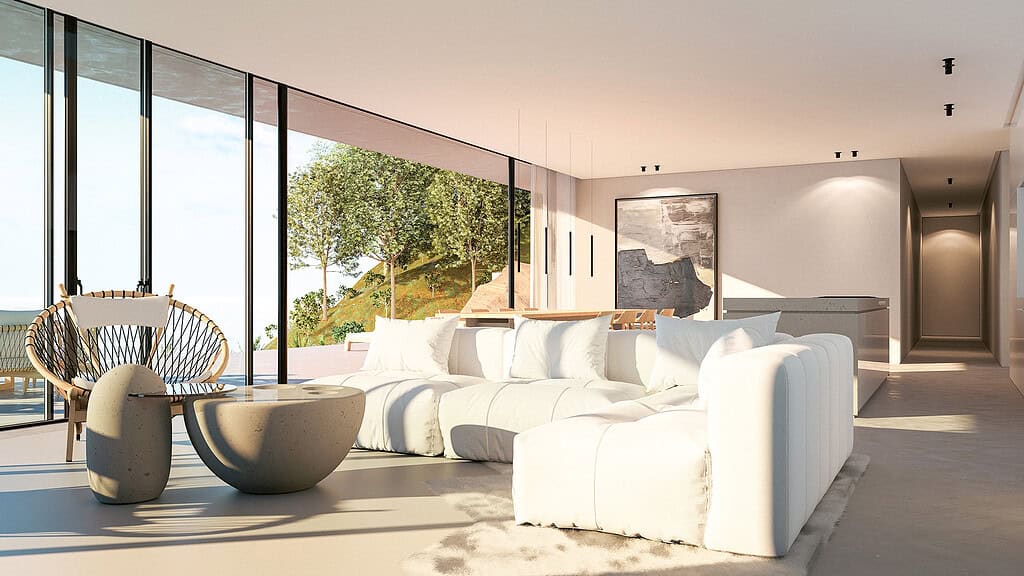
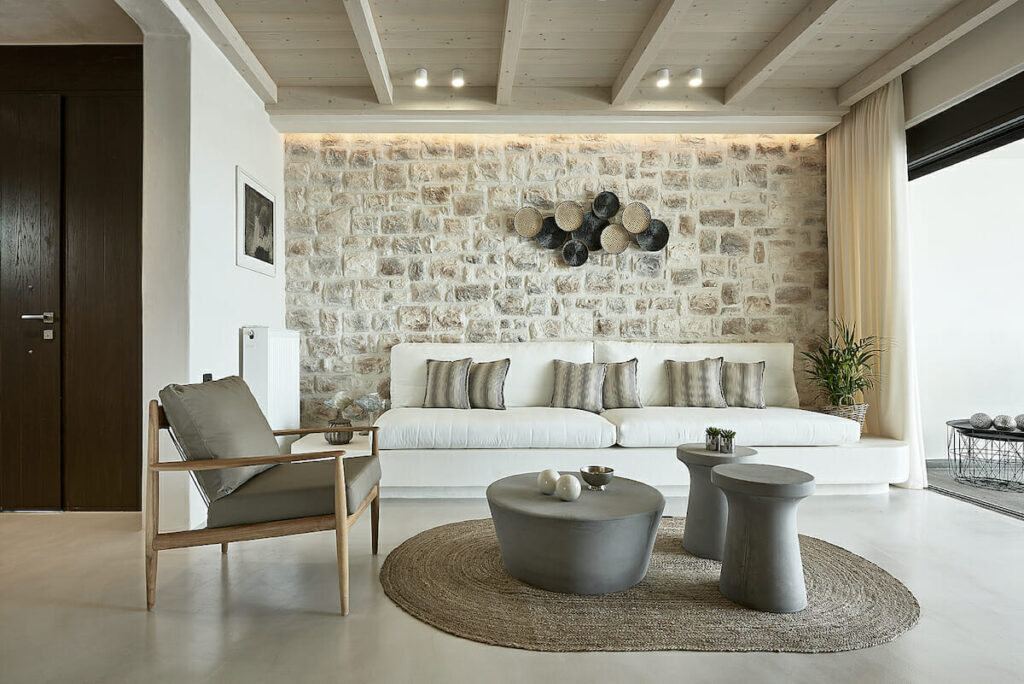
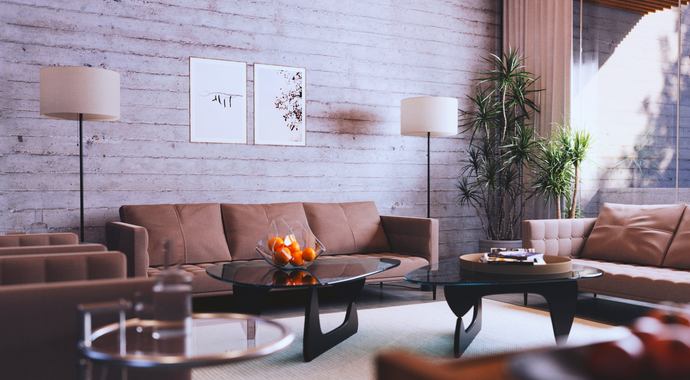
V-Ray: The Industry Standard for Photorealistic Rendering

Developed by Chaos Group, V-Ray is known as the gold standard for photorealistic rendering in the architecture industry.
VRay is a powerful and versatile rendering software widely used in the world of architectural visualization and design industries. It provides high-quality, photorealistic renders that bring projects to life with stunning realism and detail.
One of the standout features of VRay is its ability to seamlessly connect with popular design software such as Autodesk Revit, SketchUp, and 3ds Max, making it a go-to choice for professionals in the field. This compatibility allows designers to work efficiently across platforms without compromising on the quality of their renders.
The advanced lighting and shading capabilities of VRay enable users to create visually striking images that accurately simulate real-world lighting conditions. This attention to detail sets VRay apart from other rendering software, making it a preferred tool for architects, interior designers, and CG artists worldwide.
Key Features
- Powerful Rendering Engine: With advanced lighting and material capabilities.
- Physical Lighting System: Accurately simulates real-world light behavior.
- V-Ray Cosmos Material & Light Library: Hundreds of high-quality ready-made materials and lights.
- Distributed Rendering Capability: Uses multiple computers to reduce render times.
- Infinite Adjustability: Complete control over all rendering parameters.
Advantages
- Unparalleled Quality: Ability to produce photorealistic renders with stunning detail.
- High Flexibility: Access to advanced settings for professional users.
- HDRI Lighting Support: Creates realistic environmental lighting.
- Strong Documentation & User Community: Extensive learning resources.
Limitations
- Steep Learning Curve: Requires time to master all features.
- Long Render Times: Especially for very high-quality renders.
- Dependence on Powerful Hardware: Requires both a strong CPU and GPU.
Comprehensive Comparison of Revit Rendering Engines
In this section, we compare the three rendering engines based on various criteria.
1. Ease of Use & Learning Curve
- Enscape: Easiest to start with, simple interface.
- Lumion: Moderate, with a focus on visual tools.
- V-Ray: Complex, requires specialized rendering knowledge.
2. Final Render Quality
- V-Ray: Best photorealistic quality.
- Lumion: Excellent quality, especially for exterior environments.
- Enscape: Good quality, but more suitable for quick presentations.
3. Rendering Speed
- Enscape: Fastest (real-time rendering).
- Lumion: Fast for good-quality outputs.
- V-Ray: Slowest, especially at high-quality settings.
4. Integration with Revit
- Enscape: Most complete integration (internal plugin).
- V-Ray: Good integration (internal plugin).
- Lumion: Least integration (standalone software).
5. Animation Capabilities
- Lumion: Best in this field with simple yet powerful tools.
- Enscape: Basic capabilities for walkthroughs.
- V-Ray: Powerful but complex for professional animations.
6. Cost & Economic Efficiency
- Enscape: Subscription model with moderate cost.
- V-Ray: Most expensive, both perpetual and subscription licenses.
- Lumion: High cost, especially for the Pro version.
7. Virtual Reality (VR) Support
- Enscape: Best support with full integration.
- Lumion: Suitable support.
- V-Ray: Requires additional setup.
Conclusion and Choosing the Best Option
Choosing the right rendering engine for Revit depends on various factors:
Choose Enscape if:
- You need real-time, instant rendering for design meetings.
- You are a beginner and want to start quickly.
- VR capability is important to you.
- You are looking for the simplest possible workflow.
Choose Lumion if:
- Your main focus is on visualizing exterior environments and site plans.
- You need to create attractive, professional animations.
- You want to quickly produce high-quality renders for clients.
- A large library of ready-made content is important to you.
Choose V-Ray if:
- Photorealistic quality at the highest level is your priority.
- You work on luxury and professional projects.
- You have sufficient time to learn the software and render.
- Complete control over all rendering details is important to you.
Hybrid Solution
Many leading architecture firms use a combination of these software:
- Use Enscape for design review and quick presentations.
- Use Lumion for animations and exterior renders.
- Use V-Ray for final photorealistic renders and portfolio work.
The Future of Rendering in Revit
Paying attention to future trends is also important. The shift towards cloud rendering, increased use of AI in improving renders, and further development of Virtual and Augmented Reality are factors that can influence software selection.
Ultimately, the best rendering engine is the one that best aligns with your workflow, project needs, team skill level, and budget. It is recommended to test the trial versions of all three software and make your final decision based on practical experience.